In this article, you will learn how to upgrade CentOS 7 to CentOS 8.5 release. The steps described herein do not depict the official upgrade and this should not be applied to a production server yet.
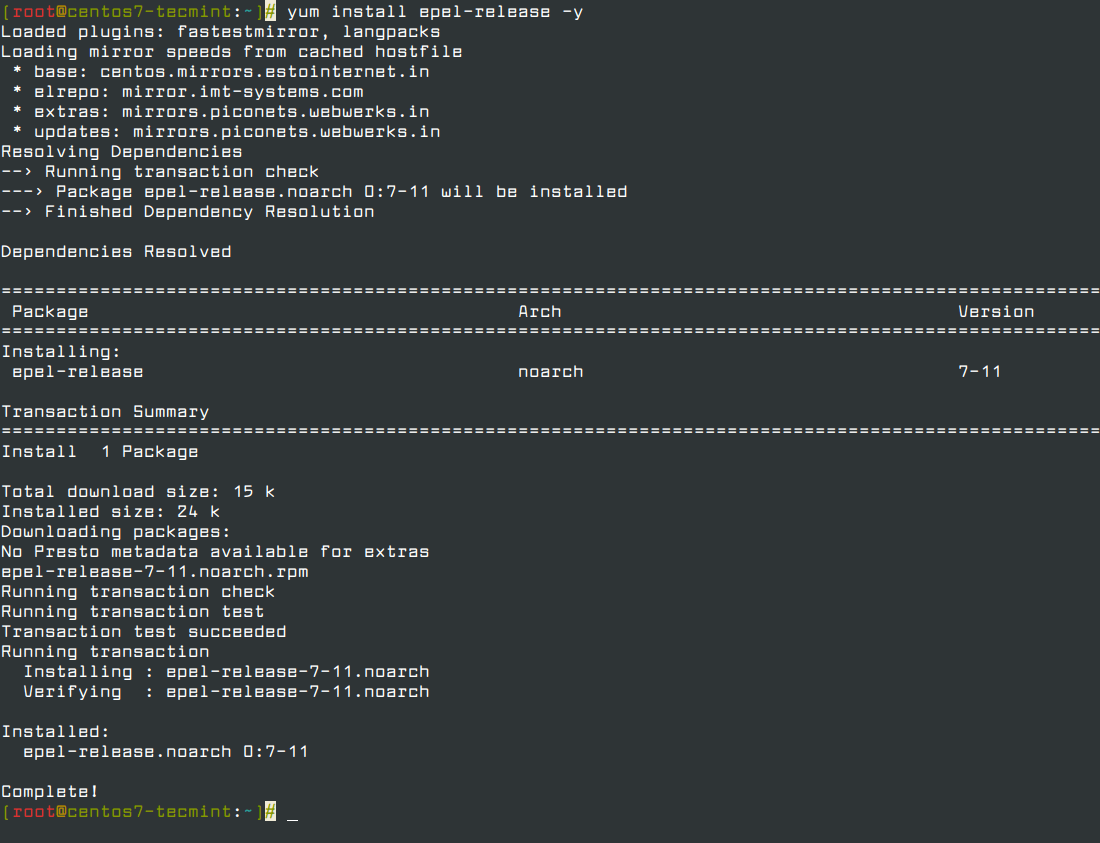
Step 1: Install the EPEL Repository
To start off, install the EPL repository by running:
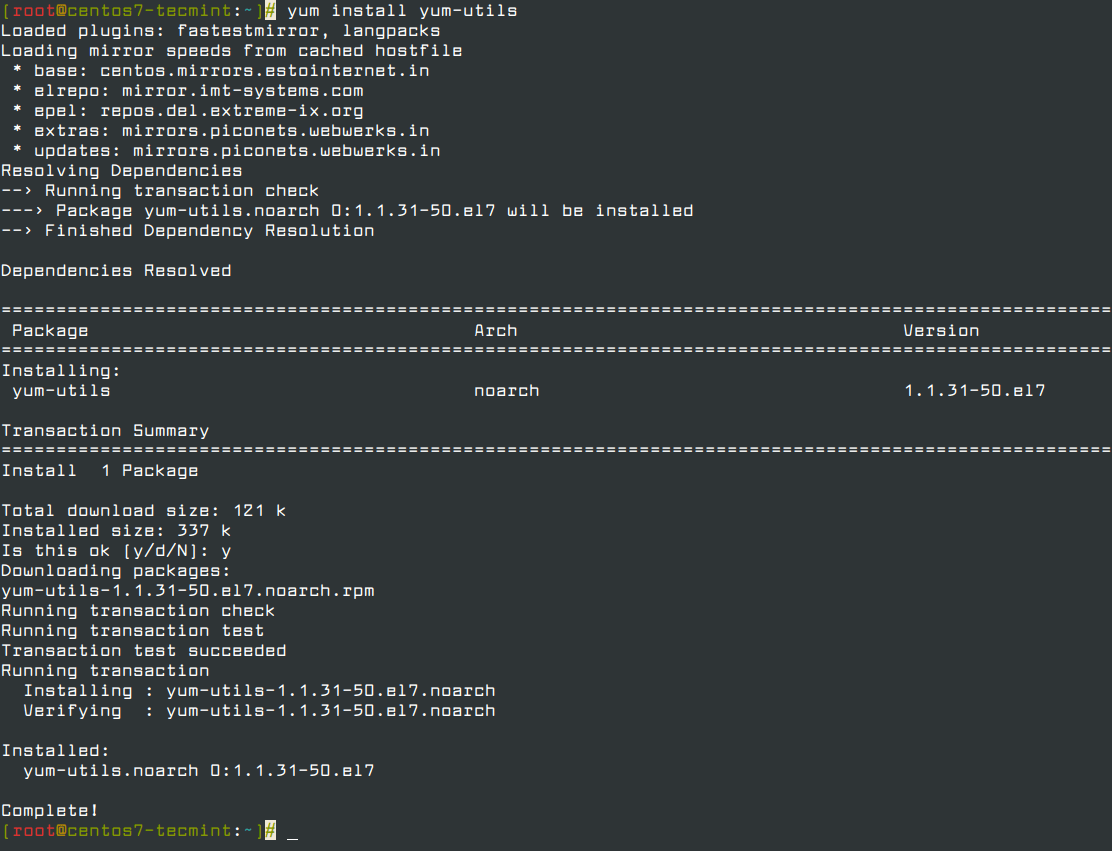
Step 2: Install yum-utils Tools
After successfully installing EPEL, install yum-utils by running the command below.
Thereafter, you need to resolve RPM packages by executing the command.
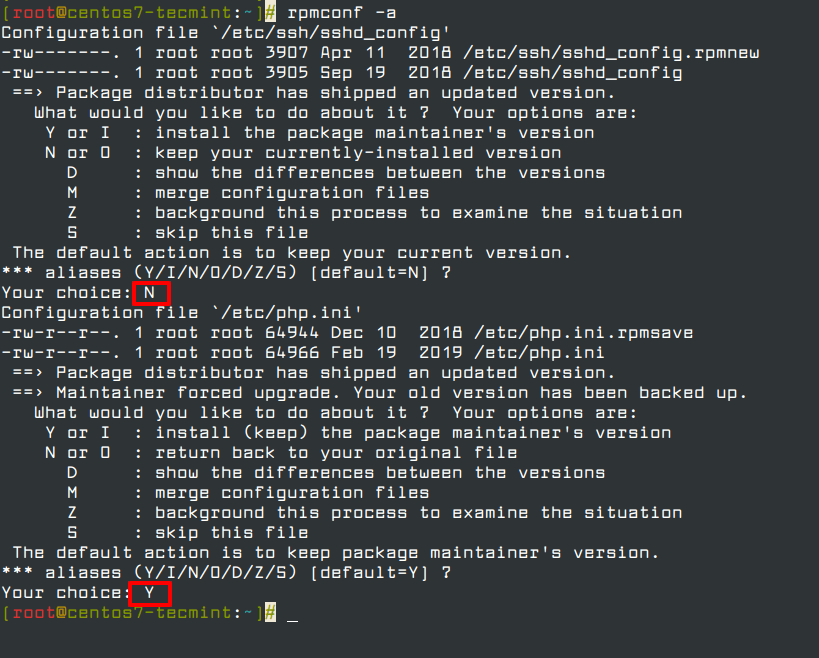
Next, perform a clean-up of all the packages you don’t require.
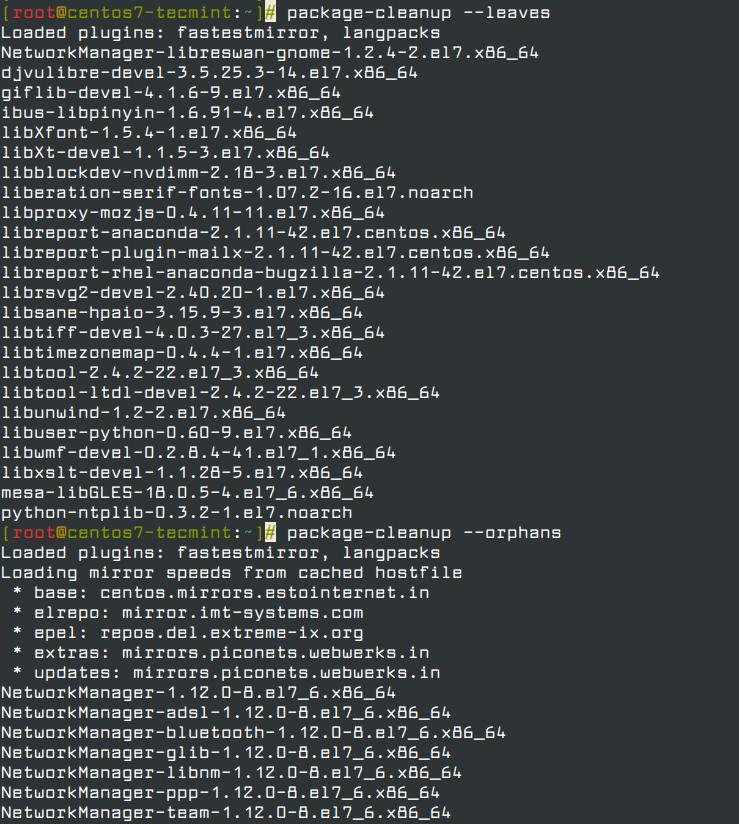
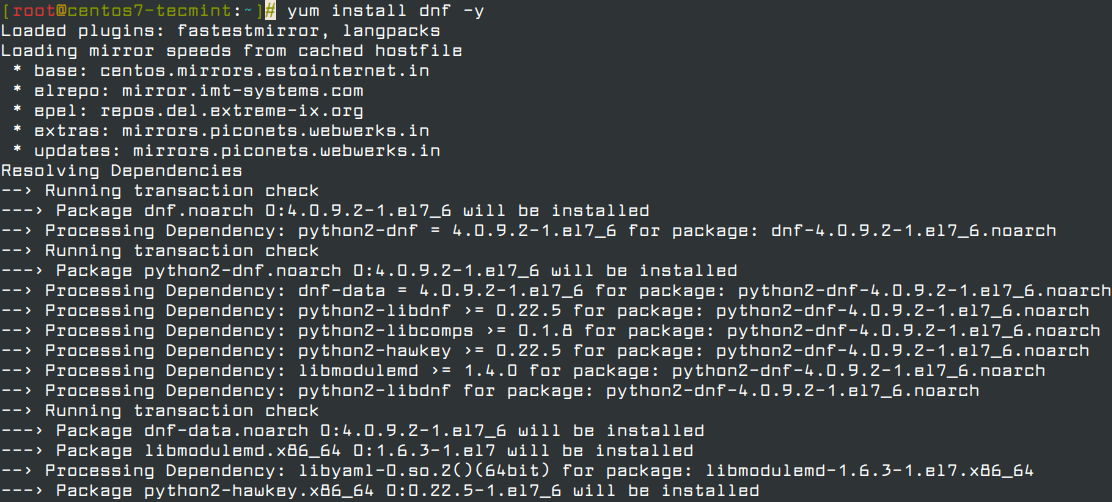
Step 3: Install the dnf in CentOS 7
Now install the dnf package manager which is the default package manager for CentOS 8.
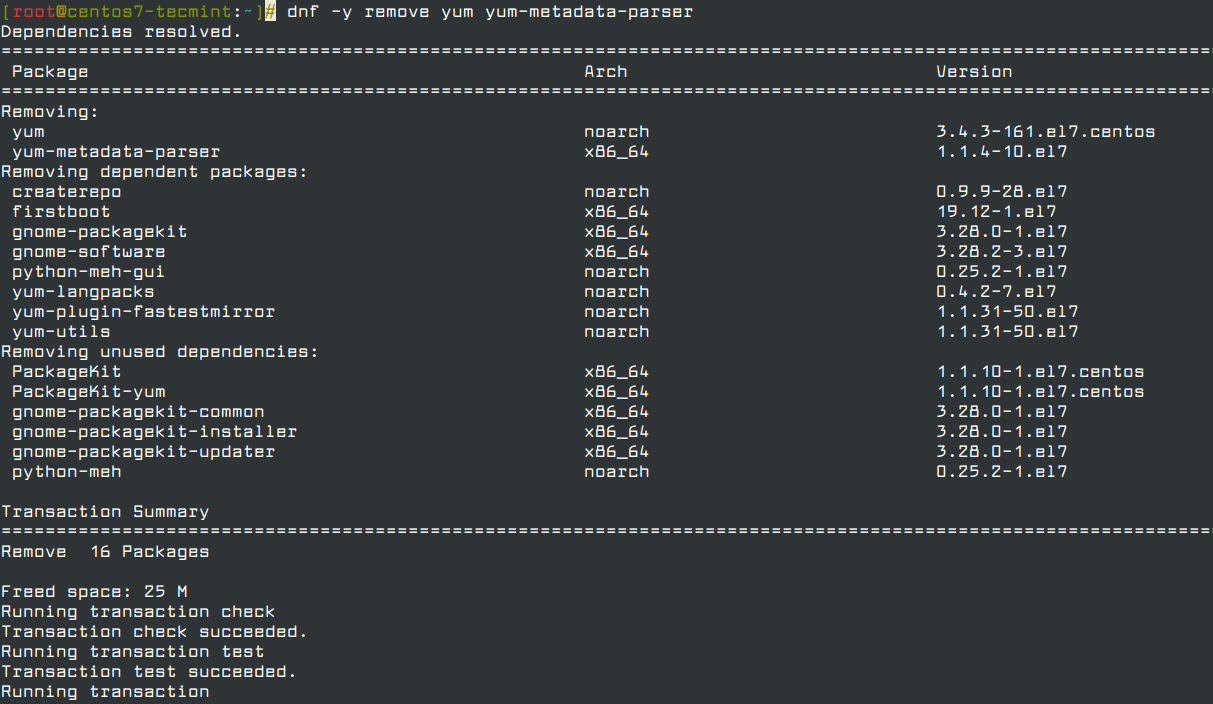
You also need to remove the yum package manager using the command.
Step 4: Upgrading CentOS 7 to CentOS 8
We are now ready to upgrade CentOS 7 to CentOS 8, but before we do so, upgrade the system using the newly install dnf package manager.

Next, install CentOS 8 release package using dnf as shown below. This will take a while.
Note: CentOS 8 is dead and all the repos have been moved to vault.centos.org.
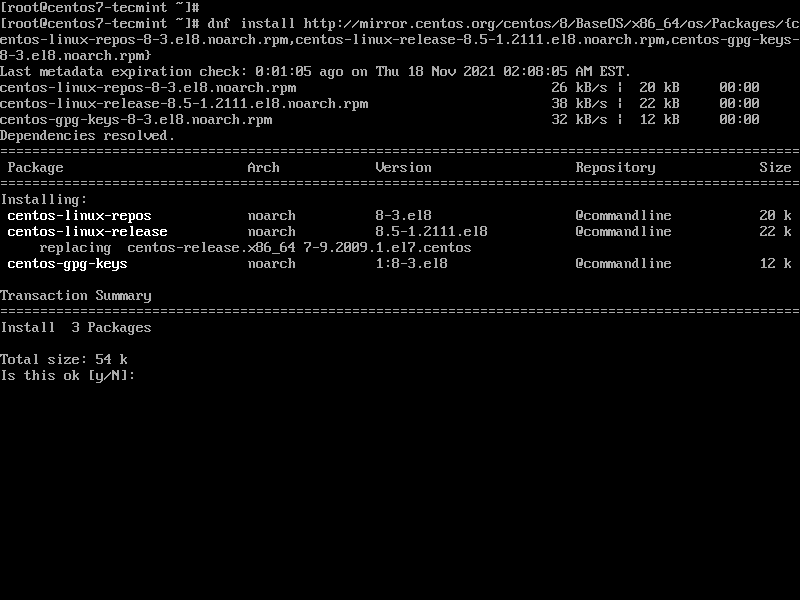
Next, upgrade the EPEL repository.
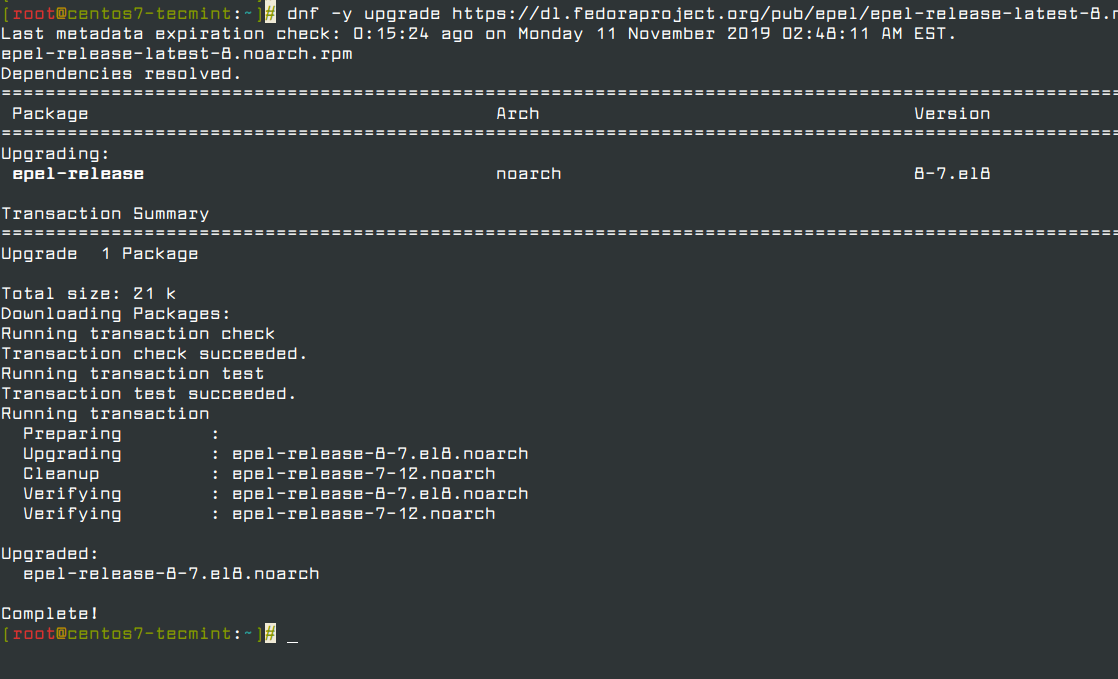
After successfully upgrading the EPEL repository, remove all the temporary files.
Remove the old kernel core for CentOS 7.

Next, be sure to remove conflicting packages.
Thereafter, launch the CentOS 8 system upgrade as shown.
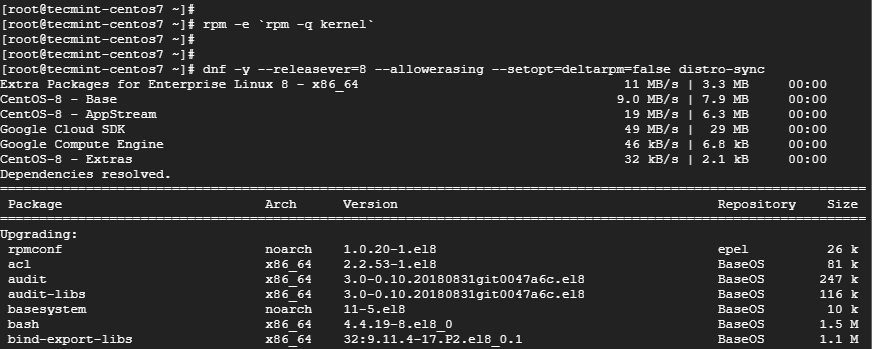
Note: If you get errors about conflicting packages, for example in my case there were conflicts about the existing python36-rpmconf package. I removed this package, similarly if you get any conflicts just remove those packages and try running the above upgrade command.
Step 5: Install the New Kernel Core for CentOS 8
To install a new kernel for CentOS 8, run the command.
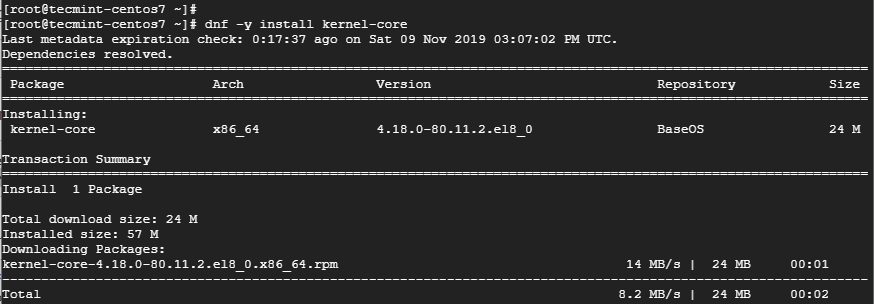
Finally, install CentOS 8 minimal package.
Now you can check the version of CentOS installed by running.

If you see the above output, I have successfully upgraded from CentOS 7 to CentOS 8.5 release.
转载请注明:IT笔记分享 » linux服务 » 升级centos7到centos8 教程
版权声明
本站《作品展示》类文章均为原创,转载必须注明出处,技术分享类文章部分来源于网络,版权归原作者所有,若侵权请留言。


